Embarking on a journey of DIY nail care not only saves time and money but also provides a therapeutic and creative outlet. With a few essential tools and a bit of know-how, you can achieve salon-worthy results in the comfort of your own home. In this guide, we’ll walk you through the steps of an at-home manicure, ensuring your nails stay healthy, beautiful, and well-groomed.
1. Gather Your Tools:
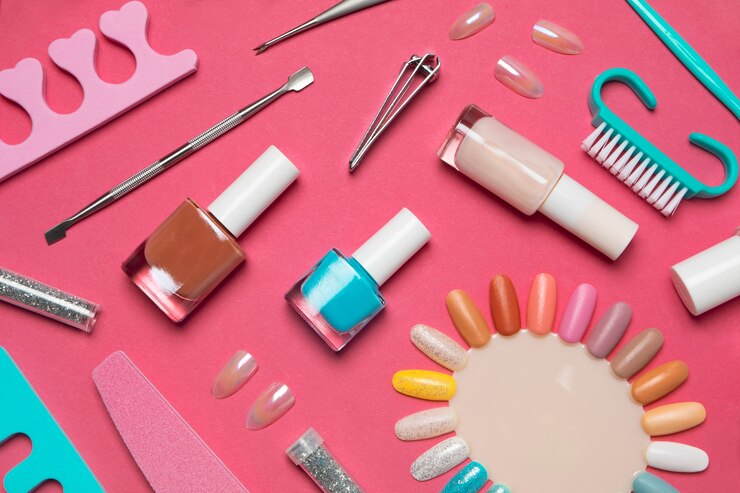
Before diving into your DIY manicure, gather the necessary tools to streamline the process. You’ll need:
- Nail polish remover
- Cotton balls or pads
- Nail clippers
- Nail file
- Cuticle pusher
- Cuticle oil
- Hand cream or lotion
- Base coat, nail polish, and top coat
- Buffer
2. Remove Old Polish:
Start your DIY manicure by removing any existing nail polish. Opt for an acetone-free nail polish remover to avoid excessive dryness. Use cotton balls or pads to gently wipe away the polish, ensuring your nails are clean and ready for the next steps.
3. Shape and Trim:
Once your nails are polish-free, it’s time to shape and trim them. Use a nail clipper to achieve your desired length, and then shape your nails with a nail file. Whether you prefer a classic square, rounded, or almond shape, ensure your nails are uniform and free from jagged edges.
4. Soak and Push Back Cuticles:
Soak your hands in warm, soapy water for a few minutes to soften the cuticles. Pat your hands dry and use a cuticle pusher to gently push back the cuticles. Be cautious not to cut the cuticles, as this can lead to infection. Pushing them back enhances the appearance of your nails and promotes healthy nail growth.
5. Exfoliate and Moisturize:
Treat your hands to a gentle exfoliation to remove dead skin cells. You can create a simple sugar scrub by mixing sugar with olive oil. Massage the scrub onto your hands and nails, then rinse thoroughly. Follow up with a rich hand cream or lotion to lock in moisture.
6. Nail Polish Application:
Apply a clear base coat to protect your nails and promote even polish application. Once dry, apply your chosen nail polish color in thin, even coats. Allow each coat to dry before applying the next to avoid smudging. Finish with a clear top coat for added shine and durability.
7. Finishing Touches:
After your nail polish is dry, tidy up any mistakes or excess polish with a small brush dipped in nail polish remover. Use a buffer to smooth the surface of your nails and create a polished finish. Your at-home manicure is now complete!
8. Maintenance Tips:
- Hydrate Regularly: Keep your nails and cuticles hydrated by applying cuticle oil and hand cream regularly.
- Avoid Harsh Chemicals: When cleaning or doing household chores, use gloves to protect your nails from harsh chemicals and detergents.
- Nail Health: Pay attention to changes in your nails, as they can indicate underlying health issues. If you notice any abnormalities, consult a healthcare professional.
Mastering the art of at-home manicures is a rewarding and empowering journey. By following these simple steps and incorporating regular nail care into your routine, you can enjoy healthy, beautiful nails without leaving the comfort of your home. Take the time to nurture your nails, and let your DIY manicures be a reflection of your self-care and creativity.


