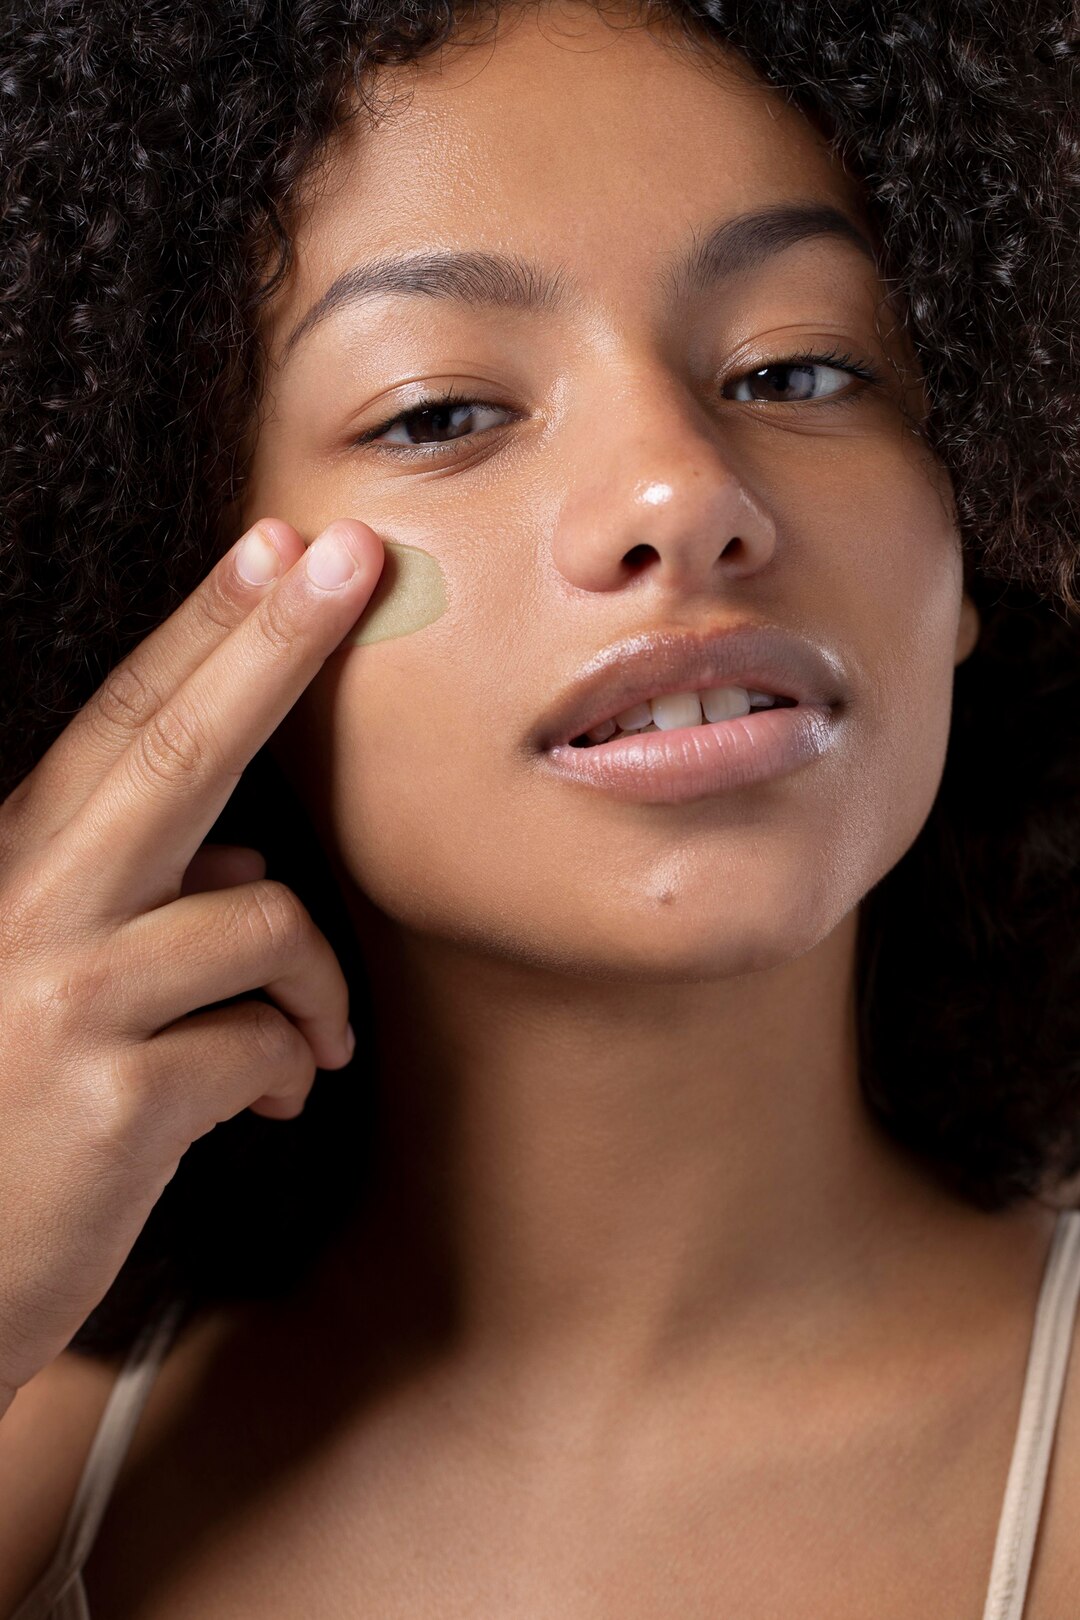
Achieving flawless skin isn’t always about covering up imperfections with layers of foundation and concealer. Sometimes, the key to a flawless complexion lies in color correction – a technique that involves neutralizing specific blemishes or discolorations to create a smooth and even skin tone. In this article, we’ll explore the art of color correction, providing you with tips and tricks to master this essential skill for achieving perfect skin.
Understanding Color Theory:
Before diving into color correction, it’s essential to understand the basics of color theory. Different colors on the color wheel have opposite hues that cancel each other out when combined. For example, green neutralizes redness, purple cancels out yellow undertones, and peach or orange counteracts blue or purple tones.
Identifying Common Skin Concerns:
To effectively color correct, you’ll need to identify the specific skin concerns you want to address. Here are some common issues and the corresponding color correctors:
- Redness: Green color correctors are ideal for neutralizing redness caused by acne, rosacea, or inflammation.
- Dark Circles: Peach or orange color correctors help counteract the bluish or purple undertones commonly found in dark circles under the eyes.
- Hyperpigmentation: Yellow or peach color correctors can help balance out dark spots or hyperpigmentation on the skin.
- Sallowness: Lavender or purple color correctors can brighten dull or sallow skin, giving it a more radiant appearance.
Choosing the Right Products:
When selecting color correctors, opt for formulas that are lightweight, blendable, and specifically designed for color correction. These products typically come in various forms, including creams, liquids, sticks, or powders. Choose a texture that works best for your skin type and desired level of coverage.
Application Techniques:
Mastering the art of color correction requires precision and patience. Here are some tips for applying color correctors effectively:
- Prep Your Skin: Start with clean, moisturized skin before applying color correctors. This helps create a smooth base and ensures better product adherence.
- Targeted Application: Use a small, precise brush or your fingertips to apply color correctors only to the areas where you need them. Avoid applying too much product, as this can result in a cakey or uneven finish.
- Blend, Blend, Blend: Gently blend the color corrector into your skin using tapping or dabbing motions. Make sure to blend out the edges seamlessly to avoid any harsh lines.
- Layering: If necessary, you can layer a skin-toned concealer or foundation over the color corrector to further camouflage imperfections and create a seamless finish.
Setting the Corrector:
Once you’ve applied and blended the color corrector, set it in place with a translucent setting powder. This helps prevent creasing or fading throughout the day and ensures your color correction stays in place.
Color correction is a powerful technique for achieving flawless skin without heavy makeup. By understanding color theory, identifying your specific skin concerns, and mastering application techniques, you can effectively neutralize imperfections and create a smooth, even complexion. With practice and patience, mastering the art of color correction will become second nature, allowing you to confidently showcase your flawless skin every day.


