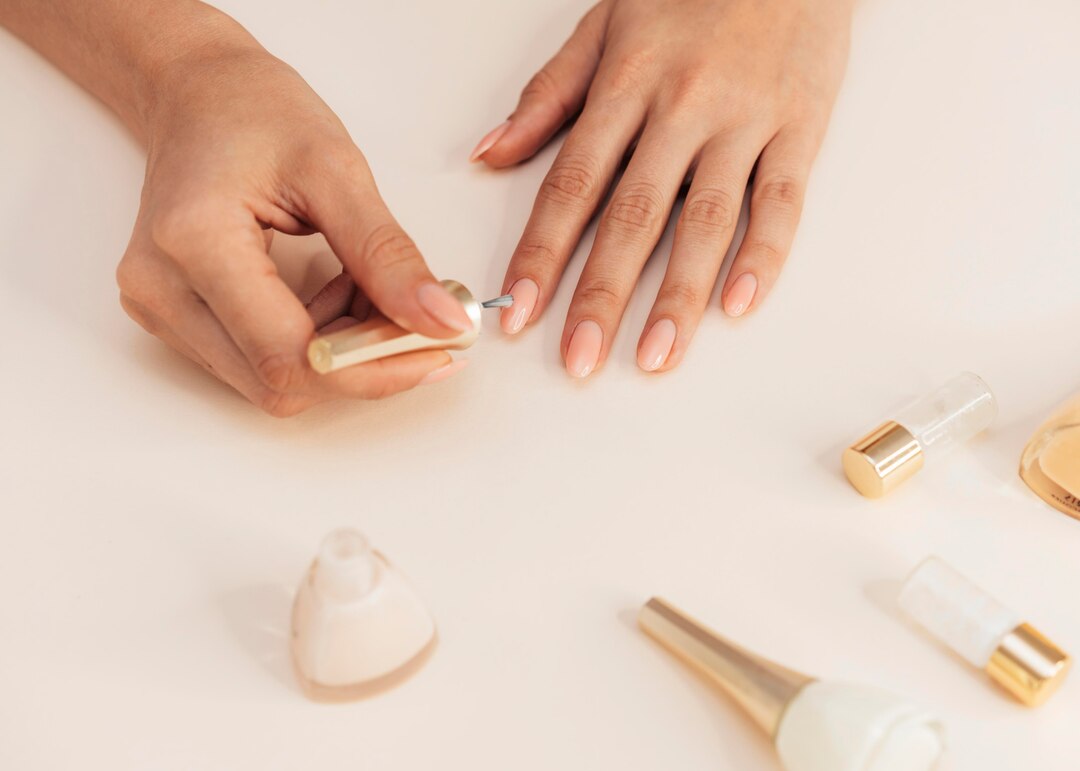
Achieving a flawless manicure at home can be both rewarding and cost-effective, especially with the availability of nail extensions. Whether you’re looking to add length, strength, or simply a touch of glamour to your nails, choosing the right nail extensions is essential for a professional-looking finish. From materials and shapes to application methods and maintenance, here’s a comprehensive guide to help you shop for the perfect nail extensions for your DIY manicure.
1. Consider Nail Extension Materials:
- Acrylic: Acrylic nail extensions are durable, long-lasting, and versatile. They’re typically made from a liquid monomer and a powder polymer that hardens when exposed to air.
- Gel: Gel nail extensions are lightweight, flexible, and natural-looking. They’re cured under a UV or LED lamp, providing a glossy finish that resembles natural nails.
- Polygel: Polygel nail extensions combine the best qualities of acrylic and gel. They’re easy to apply, odorless, and offer strong adhesion without the need for harsh chemicals.
2. Choose Your Desired Shape:
- Square: Square-shaped nail extensions feature straight sides and sharp corners, creating a classic and sophisticated look.
- Round: Round-shaped nail extensions have curved edges and a soft, feminine appearance. They’re ideal for those who prefer a more natural look.
- Almond: Almond-shaped nail extensions are tapered at the sides and rounded at the tips, resembling the shape of an almond. They’re flattering on most nail beds and offer a modern twist.
3. Determine Length and Thickness:
- Length: Choose a length that suits your lifestyle and preferences. Opt for shorter lengths for everyday wear and longer lengths for special occasions or statement looks.
- Thickness: Consider the thickness of the nail extensions for durability and comfort. Thicker extensions may feel sturdier but can appear bulky, while thinner extensions offer a more natural look.
4. Select Application Method:
- Pre-Made Tips: Pre-made nail tips are ready-to-use and come in various shapes and sizes. They’re convenient for quick and easy application but may require trimming and shaping to fit your nails perfectly.
- Forms or Dual Forms: Forms or dual forms are flexible templates that adhere to the natural nail to create custom extensions. They allow for greater control over length, shape, and thickness but may require more skill and practice to master.
5. Consider Maintenance and Removal:
- Maintenance: Choose nail extensions that are easy to maintain and require minimal upkeep. Look for products that offer long-lasting wear and resist lifting, chipping, or yellowing over time.
- Removal: Consider the removal process when selecting nail extensions. Acrylic and gel extensions typically require soaking in acetone to dissolve the adhesive, while polygel extensions can be gently filed off without damaging the natural nails.
6. Invest in Quality Products:
- Brand Reputation: Choose reputable brands known for their quality and performance in the nail care industry. Read reviews and testimonials from other users to ensure you’re investing in a reliable product.
- Kit Options: Consider purchasing a complete nail extension kit that includes all the necessary tools and accessories for a successful DIY manicure. These kits often provide step-by-step instructions and tips for beginners.
7. Experiment and Have Fun:
- Trial and Error: Don’t be afraid to experiment with different nail extension materials, shapes, and styles to find what works best for you. Practice makes perfect, so embrace the learning process and have fun along the way.
With these tips in mind, you’re ready to shop for the perfect nail extensions for your DIY manicure. Whether you’re aiming for a natural look or a glamorous finish, choosing the right nail extensions will help you achieve salon-worthy results from the comfort of your own home. Happy shopping and happy manicuring!