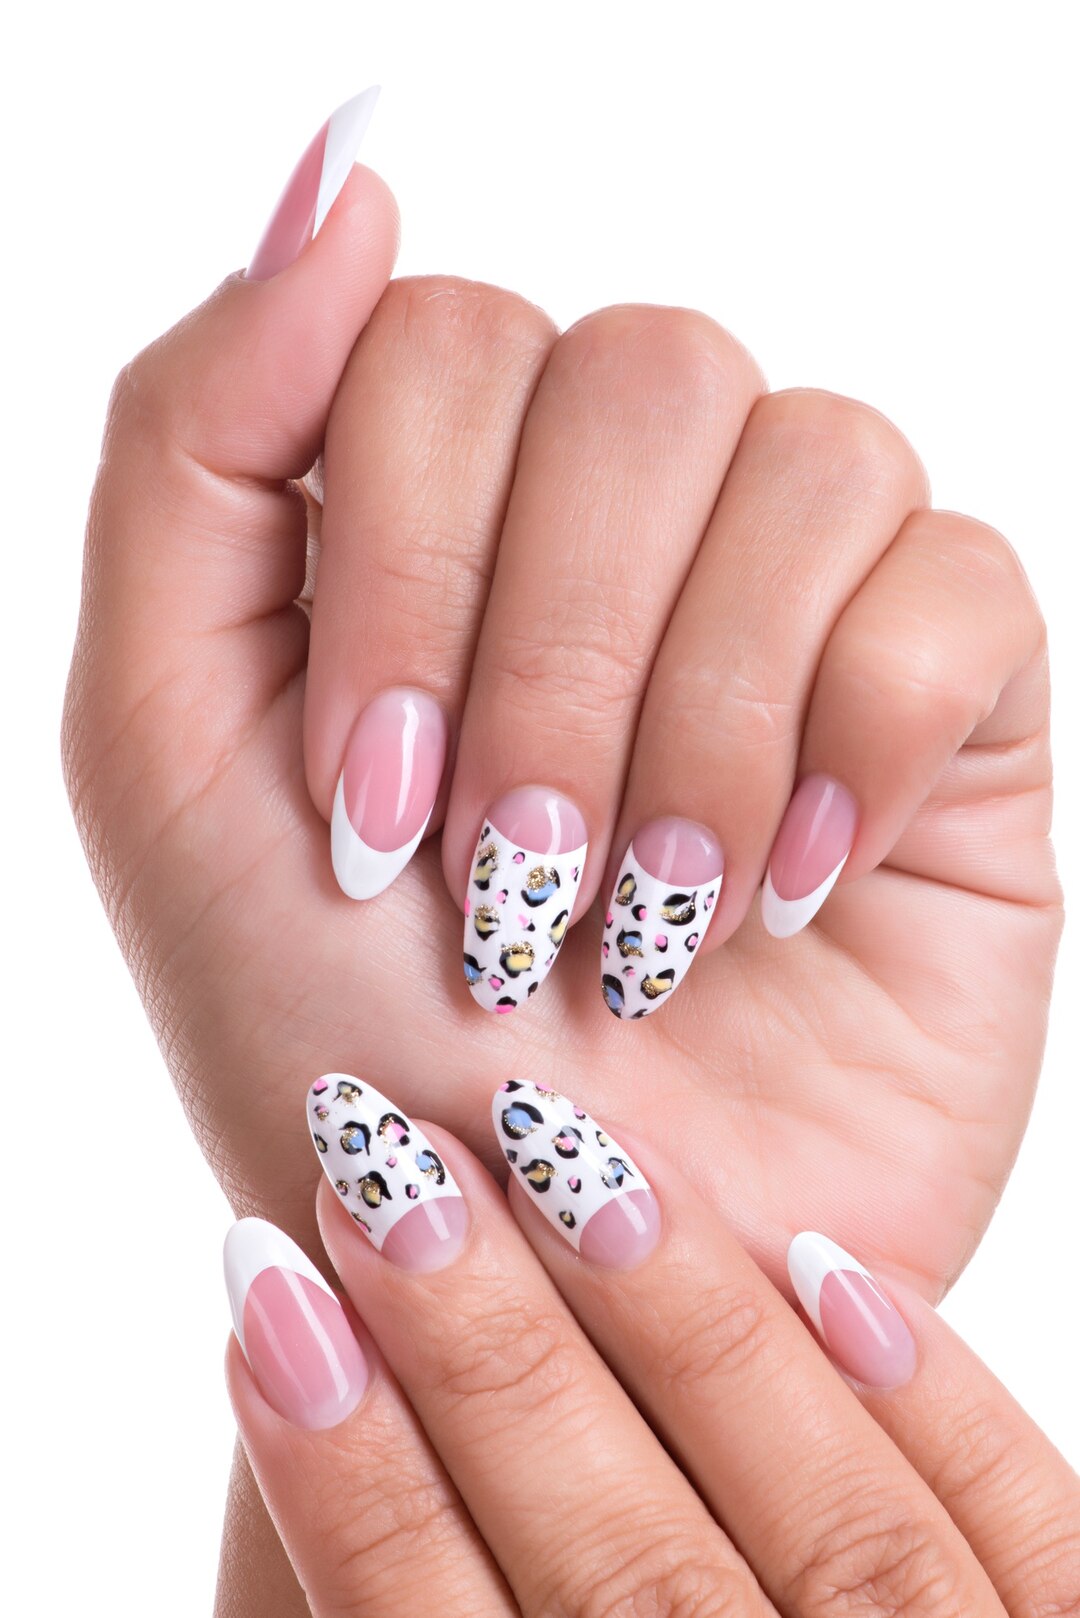
Gel X nail extensions have become increasingly popular in the world of nail art and beauty. Offering durability, flexibility, and a natural look, Gel X extensions are a favorite choice for those looking to enhance the appearance of their nails. In this article, we’ll provide you with a comprehensive step-by-step guide to mastering the application of Gel X nail extensions, so you can achieve stunning, salon-quality results from the comfort of your own home.
- Prep Your Nails:
Start by preparing your natural nails. Remove any existing nail polish and gently push back your cuticles using a cuticle pusher. Use a nail file to shape your nails to your desired length and smooth out any rough edges. - Cleanse and Dehydrate:
Thoroughly cleanse your nails using a non-acetone nail polish remover to remove any oils or residue. Next, use a nail dehydrator or rubbing alcohol to cleanse the surface of your nails and ensure better adhesion of the Gel X extensions. - Select Nail Tips:
Choose the appropriate size of Gel X nail tips for each of your nails. Trim and shape the tips as needed to achieve your desired nail length and shape. Make sure the tips fit snugly against your natural nail without any gaps. - Apply Gel X Base Coat:
Apply a thin layer of Gel X base coat onto your natural nails, making sure to cover the entire surface. Avoid getting the base coat on your cuticles or skin. Cure the base coat under a LED or UV lamp according to the manufacturer’s instructions. - Adhere Nail Tips:
Apply a small amount of Gel X adhesive onto the back of the Gel X nail tip. Press the nail tip onto your natural nail, starting from the cuticle and working towards the free edge. Hold the nail tip in place for a few seconds to ensure proper adhesion. - Trim and Shape:
Once all the nail tips are applied, use a nail clipper to trim the tips to your desired length. Use a nail file to shape the tips and smooth out any rough edges. Take your time to achieve a symmetrical and uniform shape across all nails. - Apply Gel X Overlay:
Apply a thin layer of Gel X overlay gel onto the entire surface of each nail extension, making sure to cap the edges for added strength. Use a gel brush to evenly distribute the overlay gel and smooth out any imperfections. Cure the overlay gel under the lamp. - Buff and Smooth:
After curing, use a fine-grit buffer to gently buff the surface of the nail extensions to remove any roughness or unevenness. Be careful not to buff too aggressively, as this can damage the Gel X overlay and weaken the nails. - Finish with Top Coat:
Apply a layer of Gel X top coat to seal and protect the nail extensions. This will add shine and durability to your nails, ensuring they last longer without chipping or peeling. Cure the top coat under the lamp for a glossy finish. - Hydrate and Moisturize:
Finally, apply cuticle oil or nail serum to nourish and hydrate your cuticles and surrounding skin. Massage the oil into your nails and cuticles to promote healthy nail growth and prevent dryness.
With this step-by-step guide, you can confidently apply Gel X nail extensions at home and achieve salon-quality results. By following proper prep and application techniques, you’ll enjoy beautiful, long-lasting nails that are sure to turn heads. So gather your supplies, unleash your creativity, and embrace the versatility and beauty of Gel X nail extensions.


