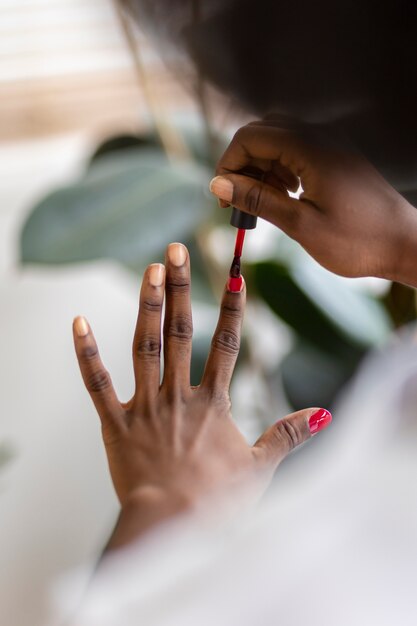
Picture this: you’ve just perfected your at-home manicure, and suddenly, a smudge or chip threatens to ruin your nail art masterpiece. Before frustration sets in, fear not! Emergency nail polish removal is an art in itself, and with a few quick fixes, you can salvage your nails and maintain that polished look. Let’s explore some creative solutions for unexpected smudges and chips that come to the rescue in nail emergencies.
1. The Toothpick Technique:
Materials Needed:
- Toothpick or small precision brush
- Acetone or non-acetone nail polish remover
Steps:
- Dip the toothpick or precision brush into nail polish remover.
- Gently trace along the edges of the smudged or chipped area to remove excess polish.
- Use a clean side of the toothpick or brush to reshape the nail polish and blend it seamlessly.
2. DIY Corrector Pen:
Materials Needed:
- Small, fine-tipped brush or an old eyeliner brush
- A small container with a lid
- Acetone or non-acetone nail polish remover
Steps:
- Pour a small amount of nail polish remover into the container.
- Dip the brush into the remover and use it as a makeshift correction pen.
- Precisely clean up any smudges or imperfections.
3. Lip Balm Barrier:
Materials Needed:
- Lip balm (preferably colorless)
- Cotton swab or precision brush
- Acetone or non-acetone nail polish remover
Steps:
- Apply a thin layer of colorless lip balm around your nails.
- Paint your nails as usual, allowing any smudges or excess polish to land on the lip balm barrier.
- Once the polish is dry, use a cotton swab or precision brush dipped in nail polish remover to clean up the lip balm and any polish mistakes.
4. Quick-Dry Topcoat Magic:
Materials Needed:
- Quick-dry topcoat
Steps:
- If you notice a smudge or chip before your nails are fully dry, apply a generous layer of quick-dry topcoat.
- The topcoat can help smooth out imperfections and blur small mistakes, giving your nails a more polished appearance.
5. Reverse Stamping Rescue:
Materials Needed:
- Cotton swab or precision brush
- Acetone or non-acetone nail polish remover
Steps:
- If you’re into reverse stamping or nail art, use the same stamping polish to correct mistakes.
- Dip a cotton swab or precision brush into nail polish remover and carefully erase any unwanted stamping.
6. Gradient Gradient:
Materials Needed:
- Sponge
- Acetone or non-acetone nail polish remover
Steps:
- If you’ve experienced a smudge, create a gradient effect to disguise the mistake.
- Dab a sponge in nail polish remover and gently blend the smudged area into the rest of the nail, creating a gradient effect.
Tips for Successful Emergency Nail Polish Removal:
- Act Quickly:
The sooner you address the smudge or chip, the better the chances of successful correction. Act swiftly to avoid the polish drying completely. - Be Gentle:
When using any correction method, be gentle to avoid causing additional damage to the nail or surrounding skin. - Experiment with Tools:
Try different tools like toothpicks, precision brushes, or even old makeup brushes to find what works best for your specific situation. - Stay Calm and Get Creative:
Nail emergencies happen to the best of us. Stay calm, get creative, and turn potential mishaps into opportunities for unique nail art.
Next time you encounter an unexpected smudge or chip, don’t panic! Armed with these quick fixes, you can swiftly and creatively address the situation, ensuring your nails remain polished and fabulous. After all, emergencies are just opportunities for a nail art rescue mission!