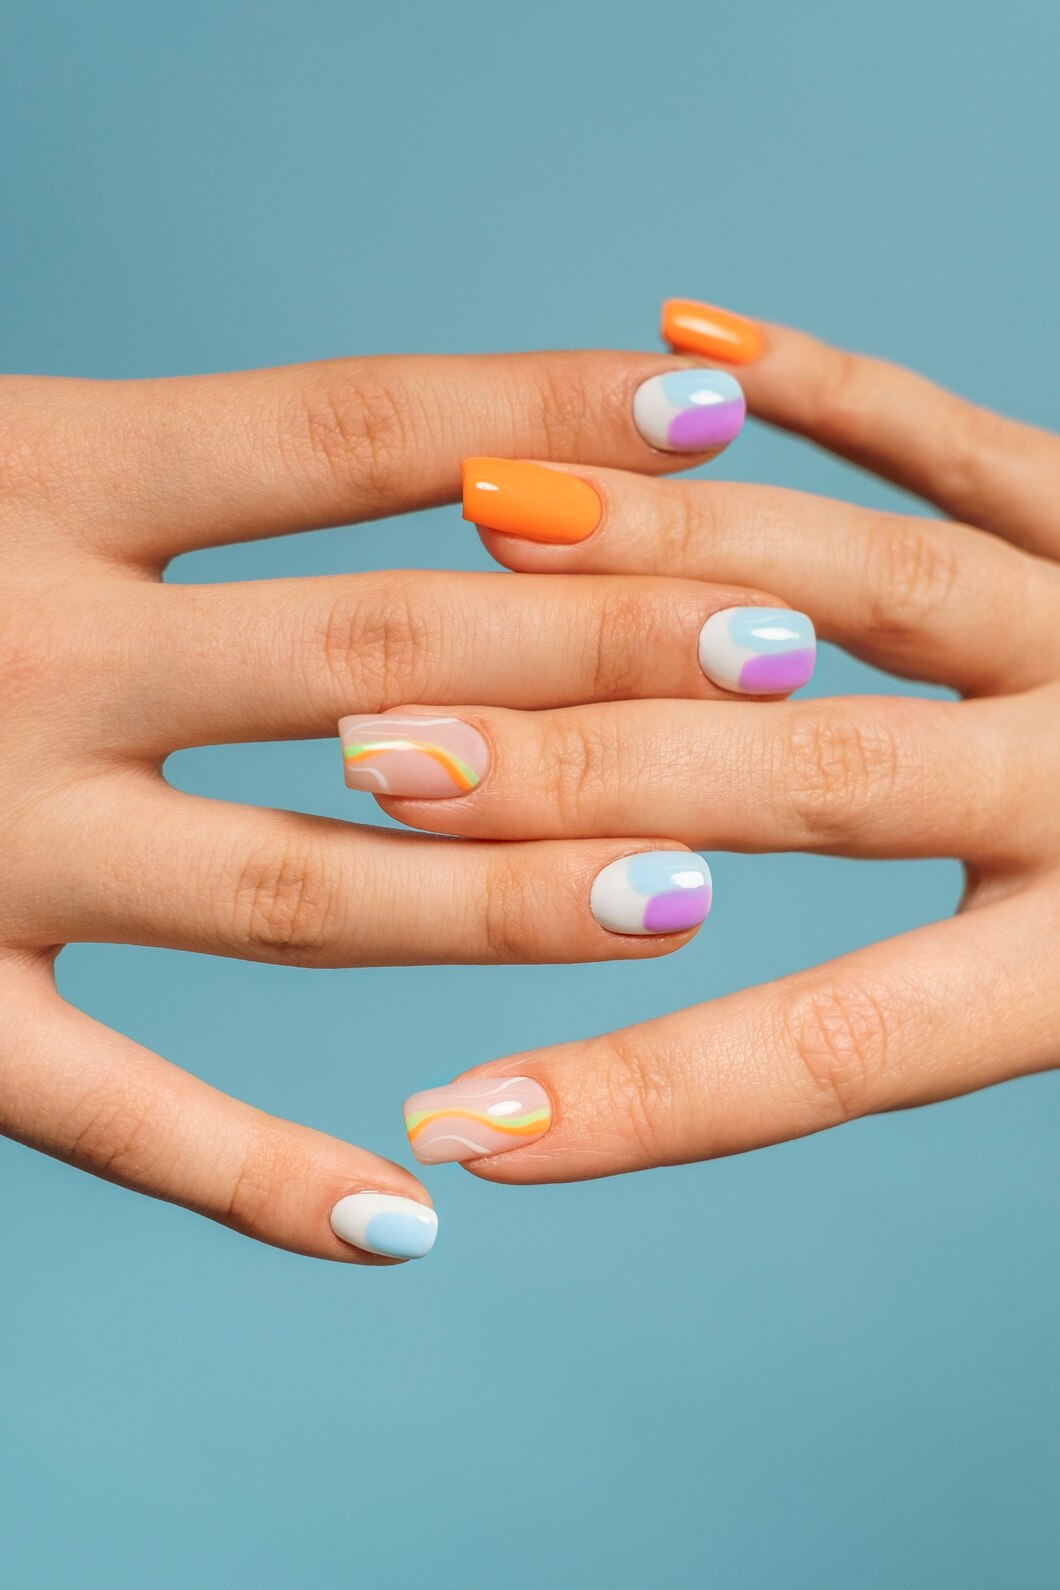
Nail art has evolved into an exciting form of self-expression and creativity, with countless techniques available for enthusiasts and professionals alike. From intricate designs to bold patterns, nail art allows individuals to showcase their unique style. Here, we explore some popular nail art techniques, including stamping, water marbling, and more, that can transform your nails into mini masterpieces.
1. Stamping
Nail stamping is a popular technique that involves transferring designs from a metal plate onto the nail. Here’s how it works:
- Materials Needed: You’ll need a stamping plate with etched designs, a stamper, a scraper, and special stamping polish.
- Process: Apply the stamping polish to the design on the plate, use the scraper to remove excess polish, and press the stamper onto the design to pick it up. Then, roll the stamper over your nail to transfer the pattern.
- Tips: Clean your stamping tools between uses to ensure crisp designs. Practice alignment to achieve precise placement on your nails.
2. Water Marbling
Water marbling creates mesmerizing, swirling patterns that are unique to each nail. Here’s how to get started:
- Materials Needed: A cup of room-temperature water, nail polishes in various colors, a toothpick or orange stick, and tape or liquid latex.
- Process: Drop alternating colors of nail polish onto the water’s surface to create concentric circles. Use a toothpick to swirl the colors into a marbled pattern. Dip your nail into the design, then remove and clean the edges.
- Tips: Use room-temperature water to prevent polish from drying too quickly. Protect your skin with tape or liquid latex for easier cleanup.
3. Freehand Painting
Freehand painting allows for complete creative freedom, enabling you to paint any design directly onto your nails:
- Materials Needed: A set of fine nail art brushes and a variety of nail polish colors.
- Process: Use the brushes to paint intricate designs, patterns, or images onto your nails. Start with simple designs and gradually work up to more complex art as you gain confidence.
- Tips: Use a top coat to seal your design and add longevity. Practice on paper before painting directly onto your nails.
4. Gradient or Ombre
Creating a gradient or ombre effect involves blending colors seamlessly on your nails:
- Materials Needed: Two or more nail polish colors and a small makeup sponge.
- Process: Paint stripes of your chosen colors onto the sponge, then gently dab the sponge onto your nails to blend the colors together.
- Tips: Apply a white base coat to make colors pop. Use a latex barrier or tape around your nails to protect your skin.
5. Striping Tape and Foils
Striping tape and foils offer quick and easy ways to achieve sharp, metallic designs:
- Materials Needed: Striping tape, nail foils, and adhesive.
- Process for Tape: Apply striping tape in your desired pattern, paint over it with polish, and then carefully remove the tape to reveal crisp lines.
- Process for Foils: Apply a layer of foil adhesive, press the foil onto the nail, and peel away to reveal a metallic finish.
- Tips: Ensure the base polish is dry before applying tape or foils to prevent smudging.
Exploring Your Creativity
Nail art is an accessible and fun way to express your creativity and style. Whether you prefer the precision of stamping, the unpredictability of water marbling, or the freedom of freehand painting, there’s a technique for everyone. Experiment with different methods and find what inspires you. Remember, practice makes perfect, so enjoy the process and let your imagination run wild!