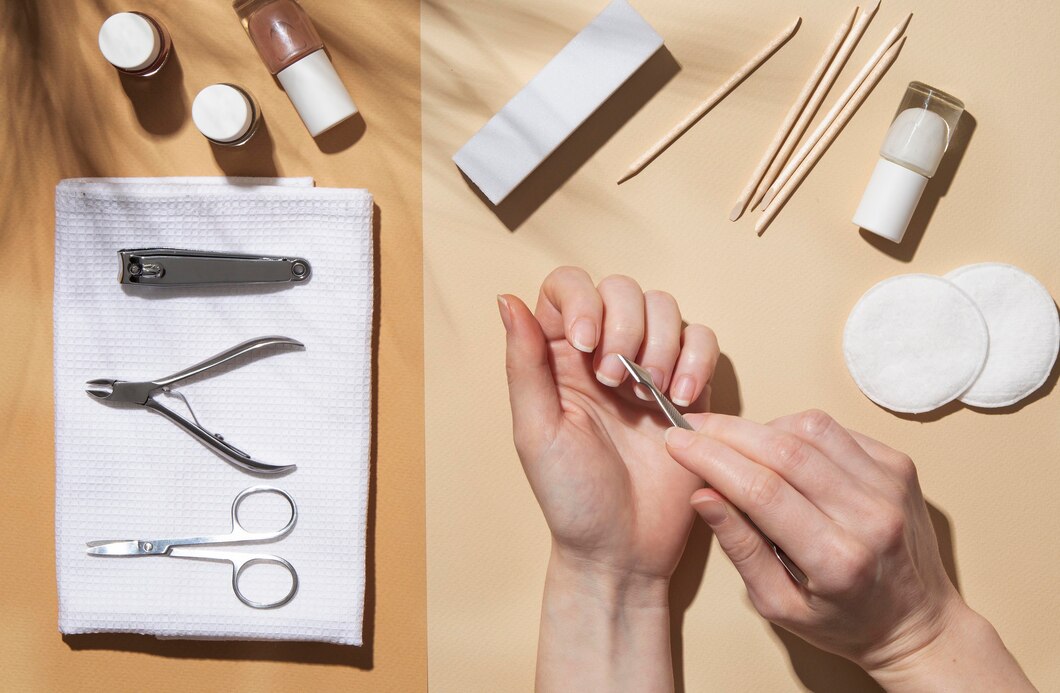
Achieving a salon-quality manicure at home is easier than you might think. With the right tools, techniques, and a bit of patience, you can pamper yourself and achieve beautiful, well-groomed nails without leaving the comfort of your home. Follow this step-by-step guide to achieve the perfect DIY manicure.
Tools and Materials You’ll Need
- Nail polish remover
- Cotton pads or balls
- Nail file and buffer
- Cuticle remover
- Cuticle pusher and nippers
- Hand moisturizer or cuticle oil
- Base coat
- Nail polish
- Top coat
Step-by-Step Guide to the Perfect DIY Manicure
1. Remove Old Nail Polish
Start by removing any existing nail polish with a nail polish remover. Use acetone-based remover for regular polish and a non-acetone remover for gentle, everyday use. Soak a cotton pad or ball with the remover and gently wipe off the old polish.
2. Shape Your Nails
Using a nail file, shape your nails to your desired length and shape. Popular shapes include square, round, oval, and almond. File in one direction to avoid splitting and weakening your nails. Buff the surface of your nails lightly to remove any ridges and create a smooth base for polish.
3. Soak and Soften Your Cuticles
Fill a bowl with warm, soapy water and soak your hands for 5-10 minutes. This softens the cuticles and makes them easier to push back and trim. After soaking, pat your hands dry with a towel.
4. Care for Your Cuticles
Apply cuticle remover to each nail and wait a minute or two. Using a cuticle pusher, gently push back your cuticles. Be careful not to push too hard, as this can damage the nail bed. Trim any excess cuticle skin with cuticle nippers, but avoid cutting too much to prevent infection.
5. Moisturize Your Hands and Cuticles
Massage a hand moisturizer or cuticle oil into your hands and around your nails. This hydrates the skin and nails, making them look healthier. Wipe off any excess oil from your nails before proceeding to the next step.
6. Apply Base Coat
Applying a base coat is crucial as it protects your nails from staining and provides a smooth surface for the nail polish to adhere to. Allow the base coat to dry completely before moving on to the next step.
7. Paint Your Nails
Choose your favorite nail polish color and apply it in thin, even coats. Start with a stroke down the center of the nail, then one on each side. Allow each coat to dry for a few minutes before applying the next one. Two coats are usually sufficient for full coverage.
8. Seal with Top Coat
Once your color coats are dry, apply a top coat to seal in the color and add shine. The top coat also helps prevent chipping and extends the life of your manicure. Allow the top coat to dry thoroughly.
9. Clean Up Any Mistakes
Dip a small brush or a cotton swab in nail polish remover and carefully clean up any polish that may have gotten on your skin or cuticles. This step ensures a neat and professional-looking finish.
10. Hydrate Again
After your nails are completely dry, reapply hand moisturizer or cuticle oil to keep your hands and nails hydrated. Regular moisturization keeps your cuticles healthy and your hands looking their best.
Tips for a Long-Lasting Manicure
- Avoid Hot Water: Hot water can cause your polish to lift and chip. Try to keep your hands out of hot water for prolonged periods, especially in the first 24 hours after painting your nails.
- Wear Gloves: When doing household chores, especially those involving water or harsh chemicals, wear gloves to protect your manicure.
- Reapply Top Coat: To extend the life of your manicure, reapply a thin layer of top coat every couple of days.
With these steps and tips, achieving the perfect DIY manicure at home is not only possible but also a relaxing and rewarding experience. Taking the time to care for your nails can boost your confidence and add a touch of elegance to your everyday look. Enjoy your at-home manicure and the beautiful results that come with it!


