Classic red nails have long been a symbol of elegance, confidence, and timeless beauty. Whether you’re dressing up for a special occasion or simply want to add a touch of sophistication to your everyday look, red nails are a perfect choice. Achieving the perfect red manicure at home can be simple and satisfying if you follow the right steps. Here’s a comprehensive guide on how to create stunning classic red nails that will never go out of style.
1. Prepare Your Nails
Before you start painting your nails, it’s essential to prepare them properly to ensure your manicure lasts longer and looks flawless.
- Remove old nail polish: Use a gentle, acetone-free nail polish remover to clean off any old polish. This will prevent any leftover residue from interfering with your new color.
- Trim and file your nails: Trim your nails to your desired length, then use a nail file to shape them. The classic red nail look pairs well with various shapes, but a slightly rounded or almond shape is particularly elegant.
- Soak and soften cuticles: Soak your nails in warm, soapy water for a few minutes to soften your cuticles. Gently push back your cuticles with a cuticle pusher, but avoid cutting them as this can lead to infection.
- Buff your nails: Lightly buff your nails to smooth the surface and remove any ridges. This step helps the polish adhere better and gives a smoother finish.
2. Apply a Base Coat
A base coat is crucial for a long-lasting manicure and to prevent staining from the red polish.
- Choose the right base coat: Select a high-quality base coat that suits your nail type. If you have brittle or weak nails, consider using a strengthening base coat.
- Apply the base coat: Apply a thin layer of base coat to each nail, starting from the center and moving outwards. Allow the base coat to dry completely before moving on to the next step.
3. Choose the Perfect Shade of Red
Red comes in various shades, from bright cherry to deep burgundy. Choose a shade that complements your skin tone and matches the occasion.
- Fair skin tones: Opt for blue-based reds like cherry or berry shades, which flatter lighter complexions.
- Medium skin tones: Bright, true reds with a touch of orange or coral look stunning on medium skin tones.
- Dark skin tones: Deep, rich reds such as crimson or wine hues complement darker skin tones beautifully.
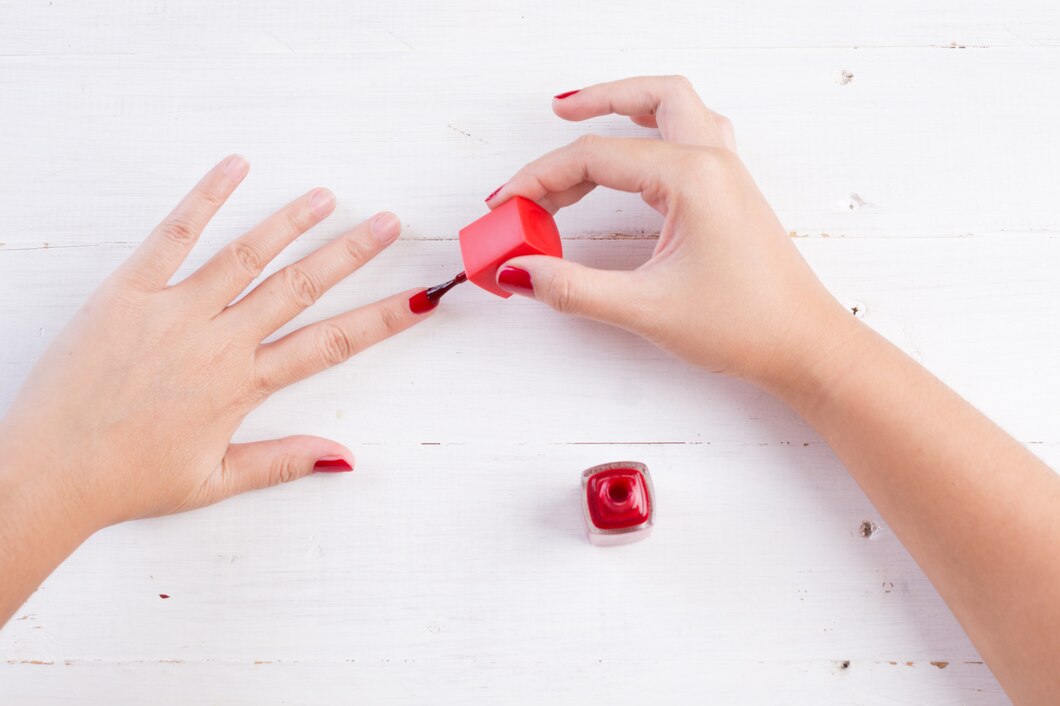
4. Apply the Red Nail Polish
Now that your nails are prepped and you’ve chosen your shade, it’s time to apply the polish.
- Start with a thin layer: Apply a thin first coat of red polish, starting at the base of the nail near the cuticle and moving towards the tip in a single stroke. Repeat on both sides of the nail to ensure even coverage.
- Let it dry: Allow the first coat to dry completely before applying a second coat. This will help prevent smudging and ensure a smooth finish.
- Apply a second coat: Apply a second, slightly thicker coat of red polish to each nail. This coat should fully cover the nail, giving it a rich, opaque color. If needed, apply a third coat for an even deeper color.
5. Seal with a Top Coat
A top coat not only adds shine but also protects your manicure from chipping and fading.
- Choose a top coat: Select a top coat with a high-gloss finish for that classic, shiny red nail look.
- Apply the top coat: Apply a thin layer of top coat over the entire nail, including the tips, to seal in the color and add a glossy finish. Allow your nails to dry completely.
6. Clean Up Any Mistakes
Even with the steadiest hand, mistakes can happen. Here’s how to fix them:
- Use a small brush: Dip a small brush or an old eyeliner brush in nail polish remover and carefully clean up any polish that has gotten onto your skin or cuticles.
- Fix smudges: If you accidentally smudge your nail polish, dip your fingertip in remover and lightly press down to smooth out the smudge without removing too much polish.
7. Moisturize and Protect
Once your nails are dry, it’s important to keep them moisturized and protected.
- Apply cuticle oil: Massage cuticle oil into your cuticles and nails to keep them hydrated and healthy.
- Moisturize your hands: Apply a nourishing hand cream to keep your skin soft and supple.
Tips for Maintaining Your Classic Red Nails
- Avoid hot water: Prolonged exposure to hot water can cause your polish to chip. Wear gloves when washing dishes or cleaning.
- Touch up regularly: Apply a thin layer of top coat every few days to maintain the shine and protect against chipping.
- Be mindful of your nails: Try to avoid using your nails as tools to open things or peel off stickers, as this can cause breakage or chips.
Classic red nails are a timeless and versatile look that can make anyone feel elegant and empowered. By following these steps, you can achieve a flawless, long-lasting red manicure at home. Whether you’re dressing up for a night out or simply want to add a pop of color to your everyday style, classic red nails are always a chic choice.