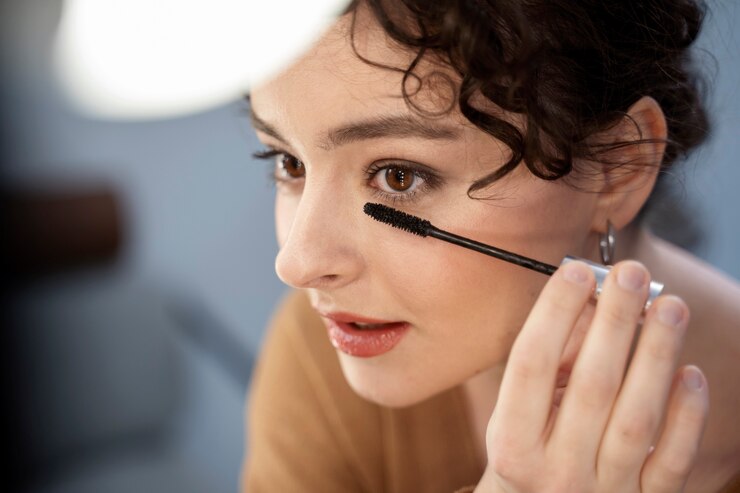
Elevating your eye makeup with mascara is a surefire way to make your eyes pop and create a captivating gaze. Whether you’re a makeup enthusiast or a beauty novice, this step-by-step tutorial will guide you through the process of enhancing your lashes for an eye-catching look.
Step 1: Gather Your Tools and Products
Before you begin, make sure you have the following items:
- Your favorite mascara (choose one that aligns with your lash goals, whether it’s lengthening, volumizing, or both).
- An eyelash curler.
- Optional: Lash primer for an extra boost.
Step 2: Prep Your Lashes
Start with clean, dry lashes. If you choose to use a lash primer, apply it before your mascara. Lash primers create a smooth base, adding thickness and length to your lashes.
Step 3: Curl Your Lashes
Using an eyelash curler, gently clamp it at the base of your lashes and hold for a few seconds. This step opens up your eyes and enhances the natural curl of your lashes. If your lashes are resistant to curling, try heating the eyelash curler with a hairdryer for a few seconds before using.
Step 4: Choose Your Mascara Wisely
Select a mascara that aligns with your desired look. If you want longer lashes, go for a lengthening formula. For added volume, opt for a volumizing mascara. Many mascaras on the market offer a combination of these benefits.
Step 5: Start at the Base
Dip the mascara wand into the tube, ensuring not to pump it to prevent excess air and drying. Start at the base of your lashes, wiggling the wand back and forth as you move upward. This technique ensures that the mascara coats the roots of your lashes, providing a volumizing effect.
Step 6: Roll Upward for Length
For lengthening, roll the wand upward as you move towards the tips of your lashes. This technique helps to evenly coat each lash, emphasizing their length. Take your time and be thorough to avoid clumps.
Step 7: Layer for Intensity
If you’re looking for an intensified look, consider layering different mascaras. Start with a lengthening mascara as a base and follow up with a volumizing formula. Layering adds depth and drama to your lashes.
Step 8: Use the Tip for Precision
To coat the smaller lashes in the inner and outer corners of your eyes, use the tip of the mascara wand or choose a mascara with a tapered brush. This ensures precision and prevents smudging.
Step 9: Comb Through Lashes
After applying mascara, comb through your lashes with a clean mascara wand or a lash comb. This step separates any clumps and provides a more defined look.
Step 10: Apply to Lower Lashes
For a balanced look, apply mascara to your lower lashes. Use a light hand to avoid a heavy or spidery effect. If you have trouble applying mascara to lower lashes with a traditional wand, consider using a smaller, more precise brush.
Step 11: Clean Up Any Mistakes
If you accidentally get mascara on your eyelid or around your eyes, wait for it to dry, and then use a cotton swab or a precision brush dipped in makeup remover to clean up the smudges.
Step 12: Final Check and Set
Take a moment to check both eyes for symmetry. If needed, make any adjustments with additional mascara or clean-up. If you want to set your mascara and prevent smudging, you can use a clear mascara or a mascara setting spray.
You’ve successfully elevated your eye makeup and made your eyes pop with mascara. Whether you’re heading out for the day or preparing for a special occasion, these steps will help you achieve a mesmerizing gaze that draws attention to your beautiful eyes.


