Water marbling is a mesmerizing nail art technique that allows you to create beautiful, swirling patterns on your nails using just a few simple tools and nail polish. While it may seem daunting at first, with a bit of practice and patience, you can master this technique and achieve stunning, one-of-a-kind designs. Here’s a step-by-step guide to perfecting the water marbling nail art technique.
Step 1: Gather Your Supplies
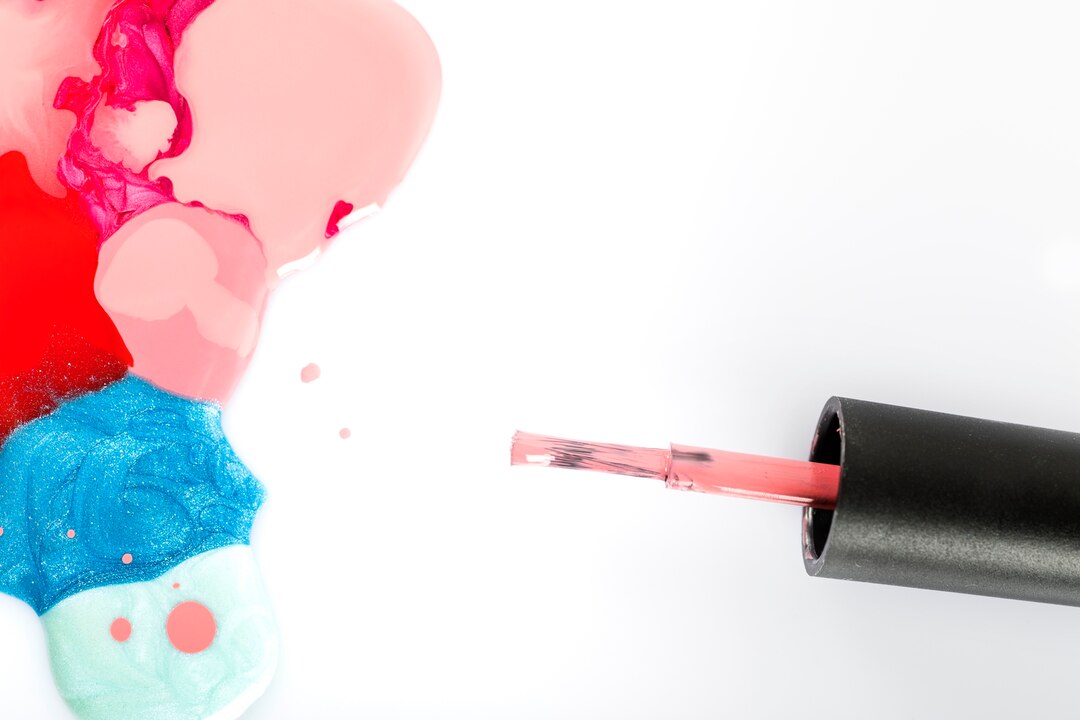
- Nail polish in multiple colors: Choose your favorite shades that complement each other well.
- Room-temperature water: Fill a small cup or bowl with room-temperature filtered water.
- Tape or liquid latex: Use this to protect the skin around your nails from polish.
- Toothpicks or orange sticks: These will be used to create intricate designs in the polish.
Step 2: Prepare Your Nails
- Start by applying a base coat to your nails and allowing it to dry completely. This will help the nail polish adhere better and prevent chipping.
- Optionally, apply a layer of white polish as a base color to make the colors pop, especially if you’re using light or pastel shades.
Step 3: Create Your Design
- Open all the nail polish bottles you plan to use and have them within easy reach.
- Working quickly, drop one or two drops of each polish onto the surface of the water, alternating colors.
- Use a toothpick or orange stick to gently swirl the colors together to create your desired pattern. Experiment with different swirling techniques to achieve unique designs.
Step 4: Dip Your Nails
- Once you’re happy with your design, carefully position your nail over the water surface and slowly dip it in at a slight angle.
- Use a toothpick to gather any excess polish floating on the surface of the water to prevent it from sticking to your nail.
- Once your nail is fully submerged, use the toothpick to clean up any excess polish around the nail before gently lifting it out of the water.
Step 5: Clean Up and Seal
- Remove the tape or liquid latex from around your nails, being careful not to smudge the design.
- Use a cotton swab dipped in nail polish remover to clean up any stray polish on your skin.
- Finish with a top coat to seal and protect your design, and to give your nails a glossy finish.
Tips for Success:
- Work quickly: Nail polish tends to dry fast, so it’s essential to move swiftly when creating your design and dipping your nails.
- Use room-temperature water: Cold water can cause the polish to thicken and not spread properly, while warm water can make the polish dry too quickly.
- Experiment with color combinations and patterns: Don’t be afraid to get creative and try out different color combinations and swirling techniques to achieve unique designs.
Water marbling nail art is a fun and creative way to express yourself and add a pop of color to your look. With practice and experimentation, you’ll soon be creating stunning, eye-catching designs that will leave everyone impressed. So grab your favorite nail polishes and give water marbling a try – you might just discover a new favorite nail art technique!